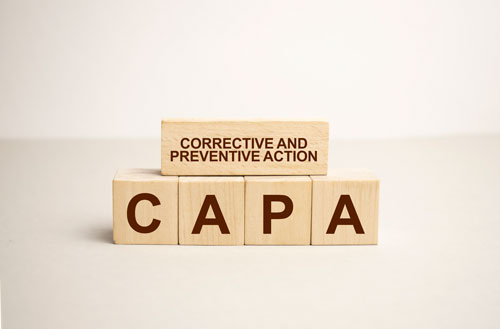
CAPA Records – The CAPA Process Explained
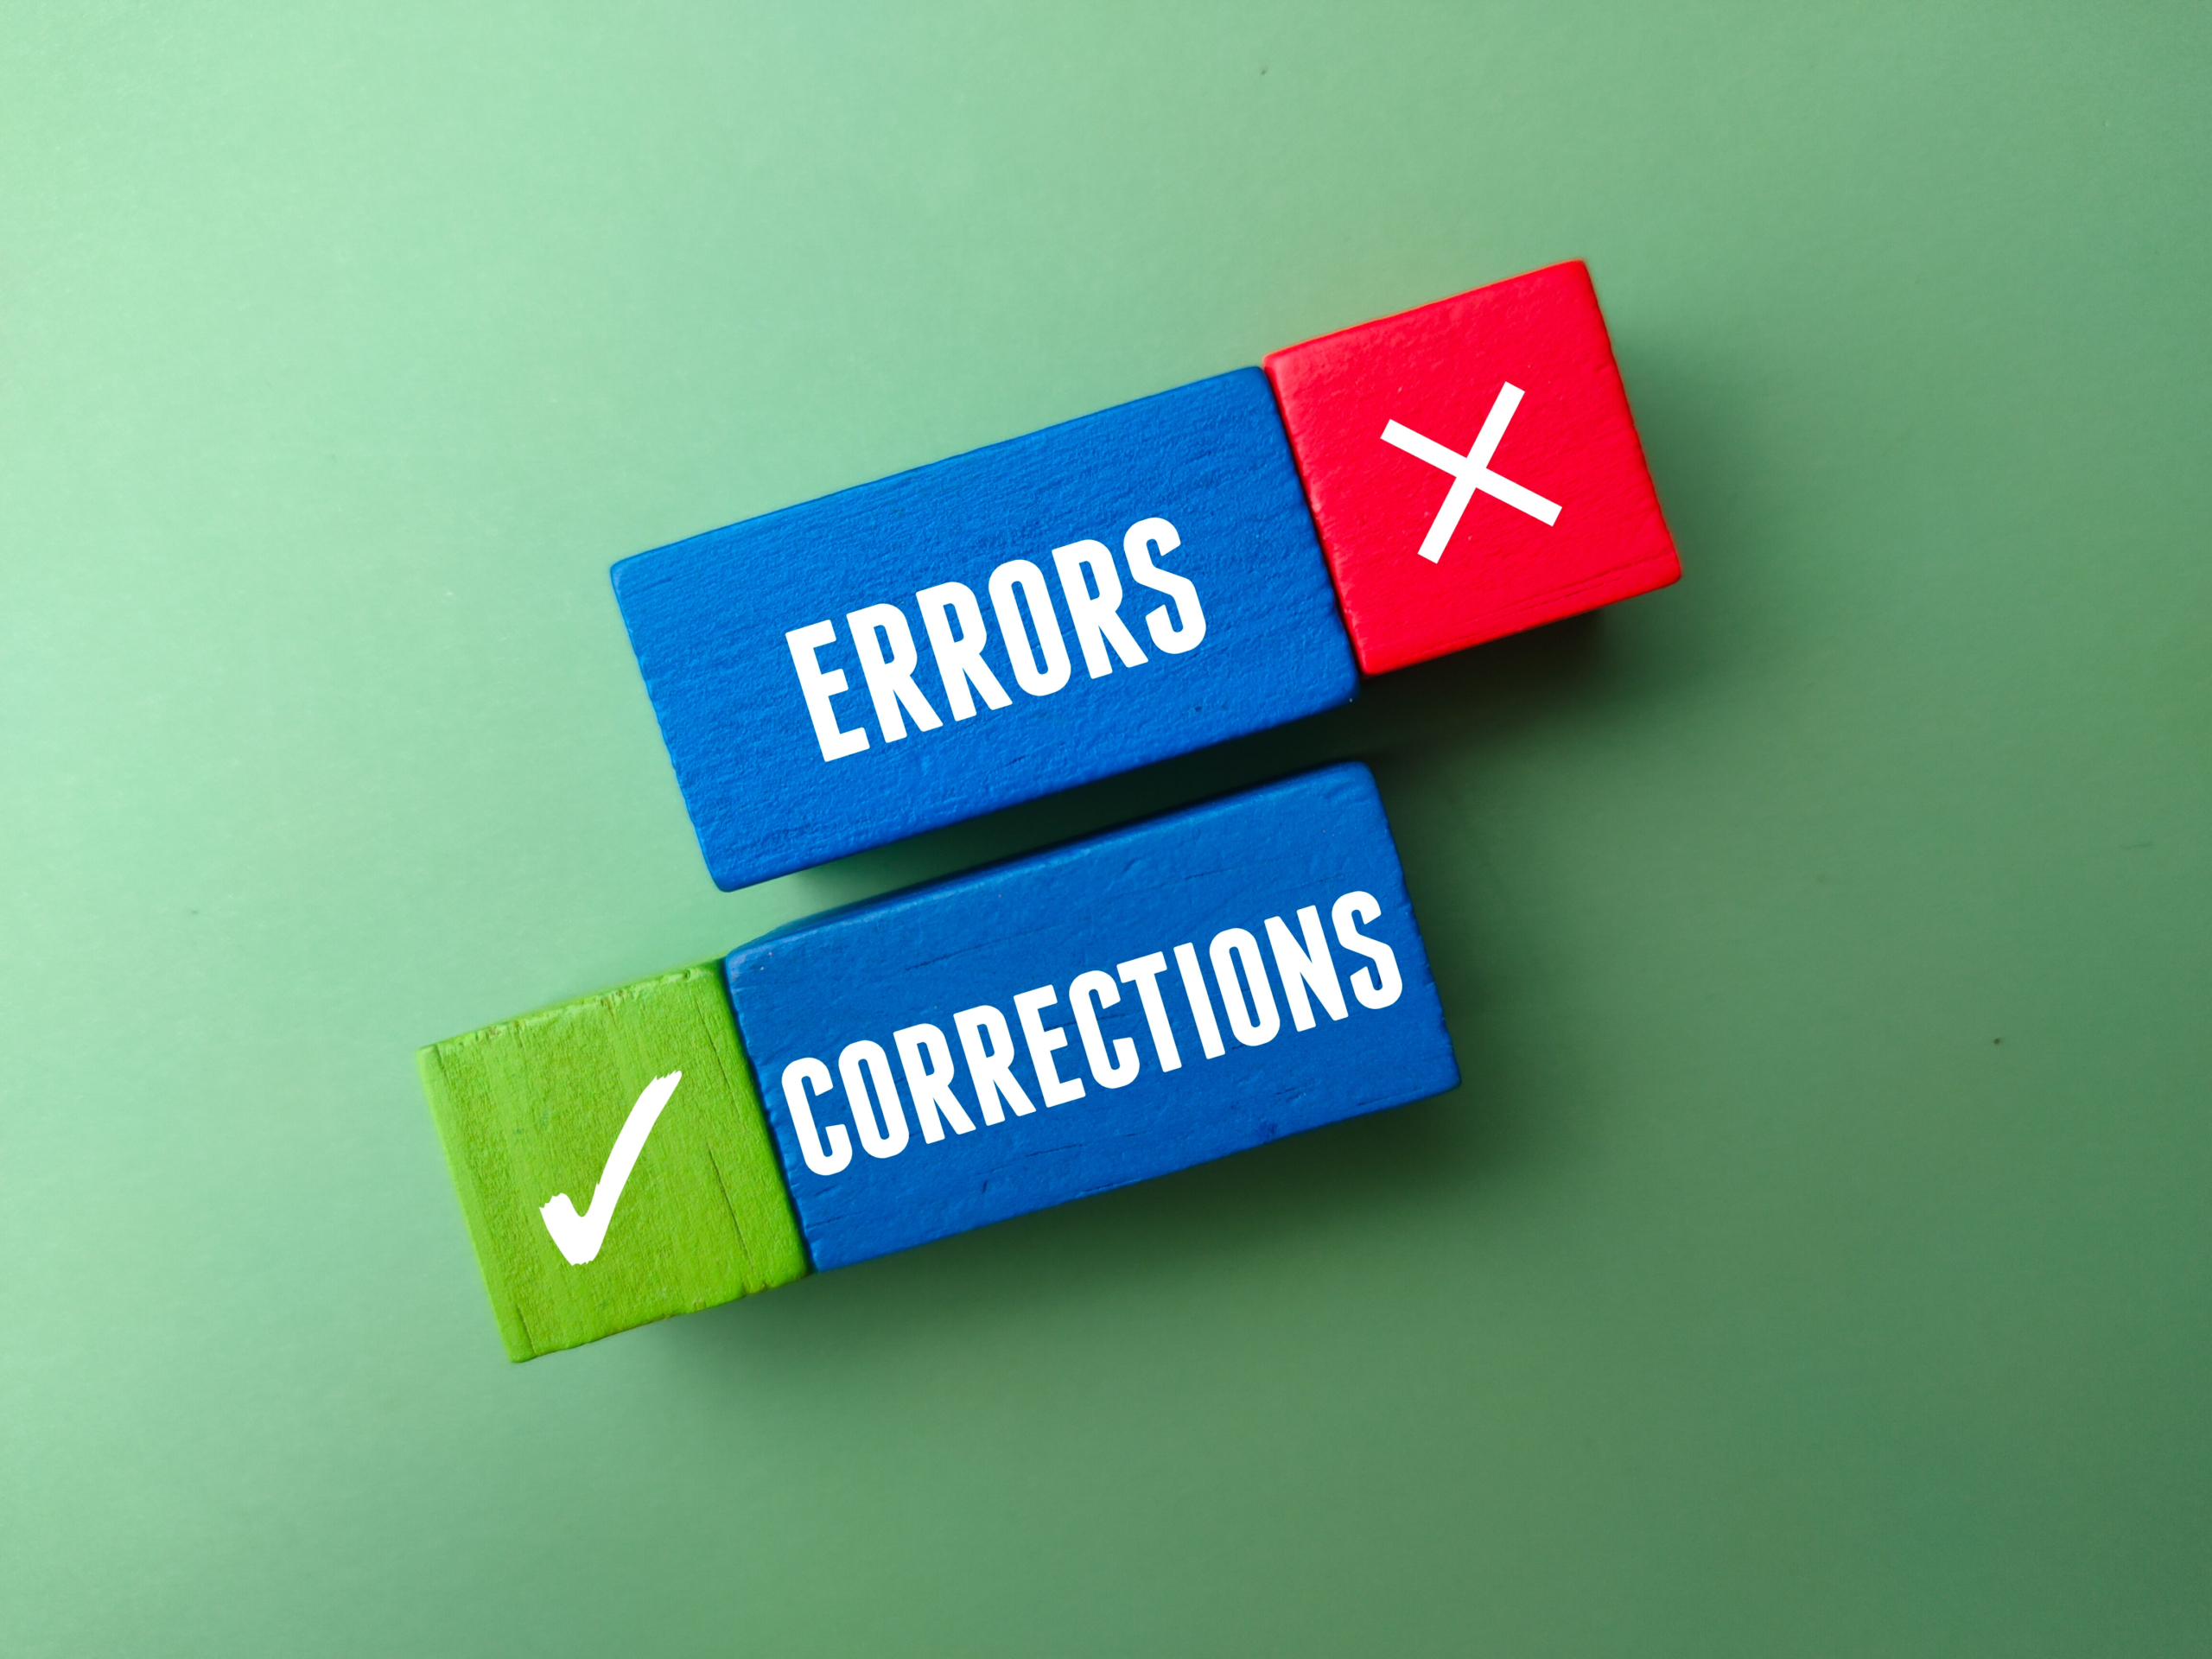
CAPA records and the CAPA process is often a big issue for ISO 9001-accredited companies. Corrective action and preventive action still remains one of the most cited areas for external audits during ISO QMS audits. As such, corrective and preventive actions can be seen as one of the most important quality system elements.
The CAPA corrective action preventive action process is one that will always be evaluated during an ISO audit. It’s therefore crucial that all companies have a robust CAPA process in place. In this article, we’ll describe a process that will help you get the best results from your CAPAs.
The CAPA (Corrective and Preventive Actions) Process Described Step-By-Step
The CAPA process should be used sensibly. You need to have a robust process in place to handle issues. But, you also need to evaluate if an issue identified meets the CAPA process requirements.
Once a problem has been identified that is worthy of a CAPA, follow the steps below:
1. Create A CAPA (Corrective and Preventive Action) Request and Review It
The process starts by determining whether the issue identified requires a CAPA. Create a CAPA corrective action preventive action request and submit it for review. Individuals within the company with the required knowledge will then determine whether a CAPA is actually required.
When creating a CAPA request, ensure that you identify the sources for the CAPA and record these. Was the issue that resulted in the CAPA for example stemming from a nonconformance, customer complaints, or internal audits? Be crystal clear about what the issue is and how it was identified.
2. Review the CAPA Request
The reviewers will determine whether a CAPA corrective and preventive action should be accepted and incorporated into the quality management system documentation.
CAPA requests are reviewed by different parties depending on the organization. It is often someone from quality, like a quality manager, but in bigger companies, it may not be one person. Many companies use Quality Review Boards (QRB) or Management Review Boards (MRB) where a team reviews CAPA requests.
It’s good practice to hold those meetings regularly, both for the CAPA process and for other quality-related issues or events.
3. CAPA Requests Are Accepted or Rejected
Once a CAPA request has been reviewed, it must either be accepted or rejected.
For CAPA requests that are rejected, the reason for the rejection should be documented and filed. This doesn’t necessarily mean that the issue that was raised isn’t a problem. A solution may still be required but it will have to be done outside of the CAPA process.
When CAPA corrective and preventive action requests are accepted, the next steps in the process should be followed.
4. Formally Initiate the Request as CAPA Records in The Quality System
When initiating a CAPA, an identification or tracking number needs to be assigned to it. This is to keep track of it through the CAPA process and for documentation purposes. You should always have a clear documentation trail and a method by which a specific CAPA’s progress can be monitored. CAPA tracker software can be used for this.
Companies regularly receive observations or warning letters for not tracking CAPAs properly. This most often happens if the failure means that CAPAs are left open indefinitely.
It should be noted that there isn’t a specific timeline required for closing a CAPA. Although 90 days is often used as a standard, this should not be set as a goal for every CAPA. Doing this can result in people taking shortcuts as they attempt to close a CAPA within the time frame. In cases where it should logically take longer to close the CAPA, take the time required to do so.
Rather than creating some arbitrary timeline, it’s better to simply follow the plan for the CAPA process timeously manner. If this takes longer than 90 days, then so be it. It’s important the investigation is done thoroughly to ensure that the issue has been corrected and won’t happen again.
5. Finalizing CAPA Sources
Before starting to take action identify all the sources that contributed to the CAPA, including customer complaints, quality data, product, or process problems. As you perform your investigation you’ll have to rely on this information, so it’s crucial that you be as holistic and thorough as when gathering the information.
6. Establish A Cross-Functional Team for the CAPA
CAPAs should ideally be handled like projects. Once the processes, products, and sources involved with the CAPA have been identified clearly, you can identify the individuals you’ll require on the team that oversees the investigation. CAPA tracker software will simplify this process greatly.
You may for example need marketing, engineering, regulatory, or manufacturing as part of your team. You should always build the CAPA team appropriately for handling the issue that has been identified.
7. Identify Corrections or Immediate Actions Needed
This step in the CAPA process identifies all actions that need to be taken immediately. If you have for example identified an issue with a specific product, you may need to segregate any finished product that might have been affected by the issue that led to the CAPA. In extreme cases, a recall may have to be issued, which is something that must be done immediately.
This step in the CAPA process is about containing the problem. Are there any actions that can be taken immediately to prevent an issue from spreading or continuing? If this is the case, you have to take those actions as soon as possible before moving on to find more permanent long-term solutions to the issue.
8. Investigate and Record Findings
Once all pressing issues leading from the CAPA have been taken care of, the next step is to undertake a thorough investigation of the issue.
That involves returning to the CAPA sources, the people, processes, and products involved, and exploring every aspect of the problem. Make sure you fully understand the what, who, where, when, how, and why of the problem. The aim should be to leave no stone unturned as you determine the issue’s root cause.
Ensure that you document all the findings during the process, as this will result in an important record of how you determined the final root cause.
9. Determining the Root Cause of A CAPA
This is only the 9th step in the CAPA process for good reason. Companies will often try to skip straight to determining the root cause, without following the previous process and documentation steps.
Although moving to the root cause determination step immediately is understandable, doing this often leads to companies simply restating the problem in different words, rather than finding the root cause. Without a thorough, well-documented investigation, you may never find and fix the root cause of the problem that led to the CAPA. This will in turn lead to you most likely having to open another CAPA for the same issue soon.
There are several techniques and tools you can use to identify a root cause, including the 5 Whys method, a fault tree, or a fishbone diagram. Each of these methods has its own advantages and disadvantages, so it’s good to take the time required to determine which root cause analysis is best for the specific scenario.
10. Design an Action Plan for the CAPA
At this stage of the CAPA process, you will be defining a series of actions that will correct the issue and prevent it from recurring. These are the corrective or preventive actions. If the root cause hasn’t been identified correctly, the actions you come up with will only really amount to busy work. In other words, the corrective actions you implement can only be as good as the results of the root cause analysis.
The action plan should detail the specific steps the organization will take, as well as deadlines for when those steps should be completed. Although there is not a defined timeline that will work for all CAPAs, it shouldn’t be dragged out any longer than required.
The action plan should clearly show that you understand how important it is to close the CAPA timeously and that the process is in place to do so.
11. Complete Action Plans
In this step, you simply take the actions that had been identified previously. These might include things like adding an inspection step, redesigning processes or updating CAPA procedures.
As with each step in the CAPA process, ensure that you document these actions properly and keep the records easily accessible for auditors and internal stakeholders.
This will not only help you stay compliant with regulations but also helps ensure that the changes you’ve implemented within the organization will be adhered to. This is after all not simply about compliance, but also about ensuring your procedures and methods show a commitment to quality management while preventing or reducing product and quality problems.
12. Review the CAPA
The CAPA is now sent back to the cross-functional team and the QRB or MRB to evaluate whether it has been completed satisfactorily. If this is not the case, it may be necessary to repeat specific CAPA process steps, like developing an action plan or determining the root cause.
If it is found the CAPA has been completed satisfactorily, the next steps are executed.
13. Approve CAPA actions
In this step, those with oversight will sign off on the CAPA outcomes, actions, and investigation. They should only do this if they’re sure the actions taken, and the investigation have corrected and/or prevented the systemic issue that led to the CAPA successfully.
14. Specify Effectiveness Verification Steps
This verification step is a crucial part of the CAPA process.
You will have to make sure that the actions that were taken were in fact effective. Although they may have looked good on paper, and the reviewers may have been happy with them, that doesn’t guarantee that they would actually work in practice.
In this step, you need to identify methods that can be used to prove that the actions that have been taken have been successful. If you for example added an additional inspection step, you need to check that this extra step has prevented the problem from recurring. You therefore have to devise verification activities that will prove that is the case.
All verification activities during this step need to be captured in CAPA records in the quality system together with which action plan items they correspond with.
15. Verify the CAPA Effectiveness
The last step in the CAPA process is to verify that the steps taken to correct and/or prevent the issue that led to the CAPA were successful. If your verification activities in the previous step were set up properly, all you’ll need to do is document the outcomes in CAPA records and evaluate them.
If all the steps of the process have been followed, it’s very likely that your actions have been proven to be effective and the CAPA can be closed.
Use Purpose-Built CAPA NCR Software to Help Manage Your CAPA Process
A robust CAPA process depends heavily on thorough documentation and investigation.
This does however pose some challenges. Imagine having three or four CAPAs running at the same time. How can you track them all while still ensuring that you’ll take timeous action?
With paper-based quality management systems (QMS), this burden sits squarely on the team’s shoulders. They will likely have to find information and navigate within a number of generic and disconnected tools.
That is one of the reasons why we designed dedicated Non Conformance Reporting software that includes CAPA records management. With CAPA NCR Software, the CAPA records, workflow, and process are well-defined and built into the system, making it easy to keep track of and manage.